|
<< Click to Display Table of Contents >> Step 2 Logo |
  
|
|
<< Click to Display Table of Contents >> Step 2 Logo |
|
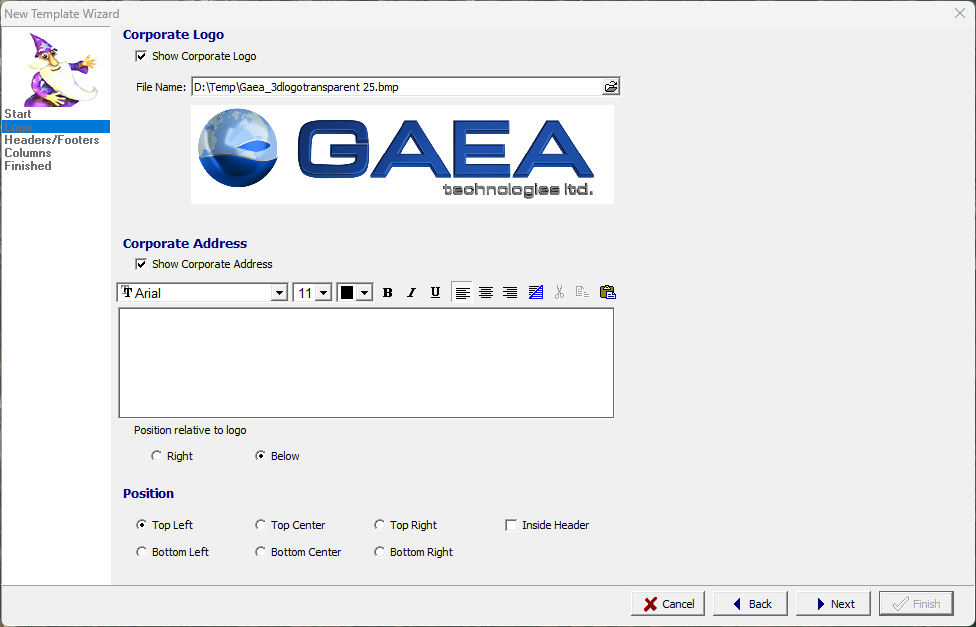
The next step is to specify whether to include a corporate logo and address on the template.
Corporate Logo
Show Corporate Logo: Check this box to show a corporate logo on the template.
File Name: Click the open file symbol on the right to select the file containing the bitmap of the corporate logo. After the file has been selected the logo will be displayed below the file name.
Corporate Address
Show Corporate Address: Check this box to show the corporate address on the template.
Address: The company name and address can be entered using rich text.
Position relative to logo: If the corporate logo and address are being show on the template this is used to select whether to display the address to the right of the logo or below the logo.
Position
The logo and/or address can be displayed at the top of the template with the header or at the bottom with the footer.
Top Left: Display the logo and/or address at the left side of the header.
Top Center: Display the logo and/or address in the center of the header.
Top Right: Display the logo and/or address at the right side of the header.
Inside Header: Check this box to display the logo and/or address inside of the header. Otherwise the width of the header will be shortened to accommodate the logo and/or address.
Bottom Left: Display the logo and/or address at the left side of the footer.
Bottom Center: Display the logo and/or address in the center of the footer.
Bottom Right: Display the logo and/or address at the right side of the footer.
Inside Footer: Check this box to display the logo and/or address inside of the footer. Otherwise the width of the footer will be shortened to accommodate the logo and/or address.