
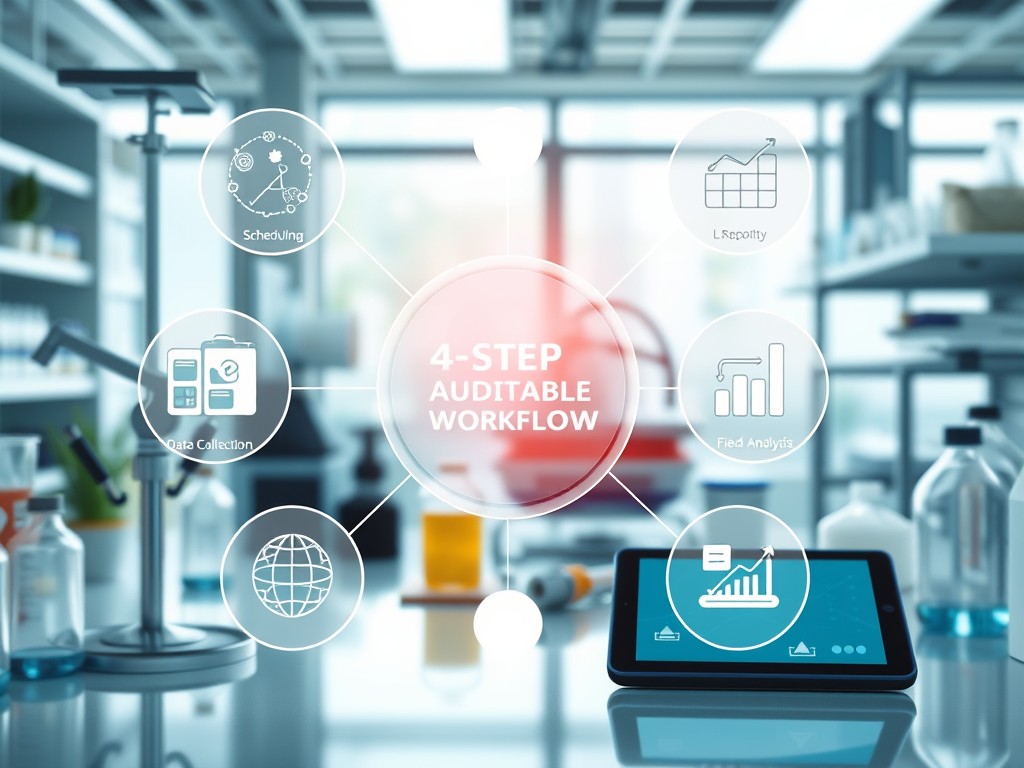
Modern environmental projects demand more than just data storage; they require a transparent “chain of custody” from the initial plan to the final report. Here is how EDMS standardizes this process into four manageable steps.
Step 1: Scheduling and Sample Planning
The process begins with project managers designing sampling events within EDMS. You can define singular or re-occurring tasks and specify sampling stations with detailed information on location, construction, and required lab analyses. To ensure field accuracy, EDMS allows you to print barcoded sample labels and a Chain of Custody (COC) directly from the planning interface.
Step 2: Data Collection
During the field event, all planned station information—including sampling defaults and required personnel—is inherited by the sample record. Field teams can use EDMS Field on Windows tablets to record detailed data, including photographs, for various environmental media. This data is then uploaded remotely to the main database as an Electronic Data Interchange (EDI) file, which eliminates manual transcription errors and speeds up reporting.
Step 3: Lab Analysis
Once samples reach the lab, they are tracked through shipping, receiving, and analysis. GAEA provides a free tool called EDMS Lab for analytical laboratories, enabling them to automatically upload results back to your database via FTP or email. This automated import includes a Certificate of Analysis (COA) for your records, ensuring a fully auditable digital trail.
Step 4: Reporting
The final stage transforms raw data into actionable insights. EDMS collates lab and field results into various customizable tables and graphs. Because EDMS is fully integrated with the GaeaSynergy platform, this data can also be used for 3D visualization in modules like WinLoG and WinFence, or for contouring within a built-in GIS.
Learn more about our Solutions
Related Articles
- How Environmental Regulations Vary Across Countries and Their Impact on Global Business
- The Complete Guide to Environmental Data Management
- Streamlining Environmental Data: Key Features of GAEA Technologies EDMS
- Streamlining Global Environmental Compliance: Free Regulation Viewer
- Mastering Environmental Data: An Introduction to GAEA Technologies EDMS
- Choosing the Best Environmental Data Management System: EDMS vs. EQuIS, ESdat, and DataSight
- Connecting the Dots: How EDI and Notifications Revolutionize EDMS Workflows